Local development with kagent CLI#
In this guide, you'll learn how to develop, build and run an AI agent locally using kagent CLI, without a Kubernetes cluster. This guide is meant for developers familiar with Python. You can also create declarative agents without writing a single line of code, by following the Your First Agent guide.
Prerequisites#
Before you begin make sure you have the following prerequisites installed:
Create a new agent#
Let's create a new agent using the kagent CLI. We'll use the gpt-4 model from OpenAI. You can use --model-provider to pick other providers (e.g. OpenAI, Anthropic or Gemini).
kagent init adk python myagent --model-name gpt-4 --model-provider OpenAI
✅ Successfully created adk project in /projects/myagent🤖 Model configuration for project: openai (gpt-4)📁 Project structure:myagent/├── myagent/│ ├── __init__.py│ ├── agent.py│ ├── mcp_tools.py│ └── agent-card.json├── kagent.yaml├── pyproject.toml├── docker-compose.yaml└── README.mdNote: MCP server directories are created when you run 'kagent add-mcp'🚀 Next steps:1. cd myagent2. Customize the agent in myagent/agent.py3. Build the agent and MCP servers and push it to the local registrykagent build myagent --push4. Run the agent locallykagent run5. Deploy the agent to your local clusterkagent deploy myagent --env-file .env.local
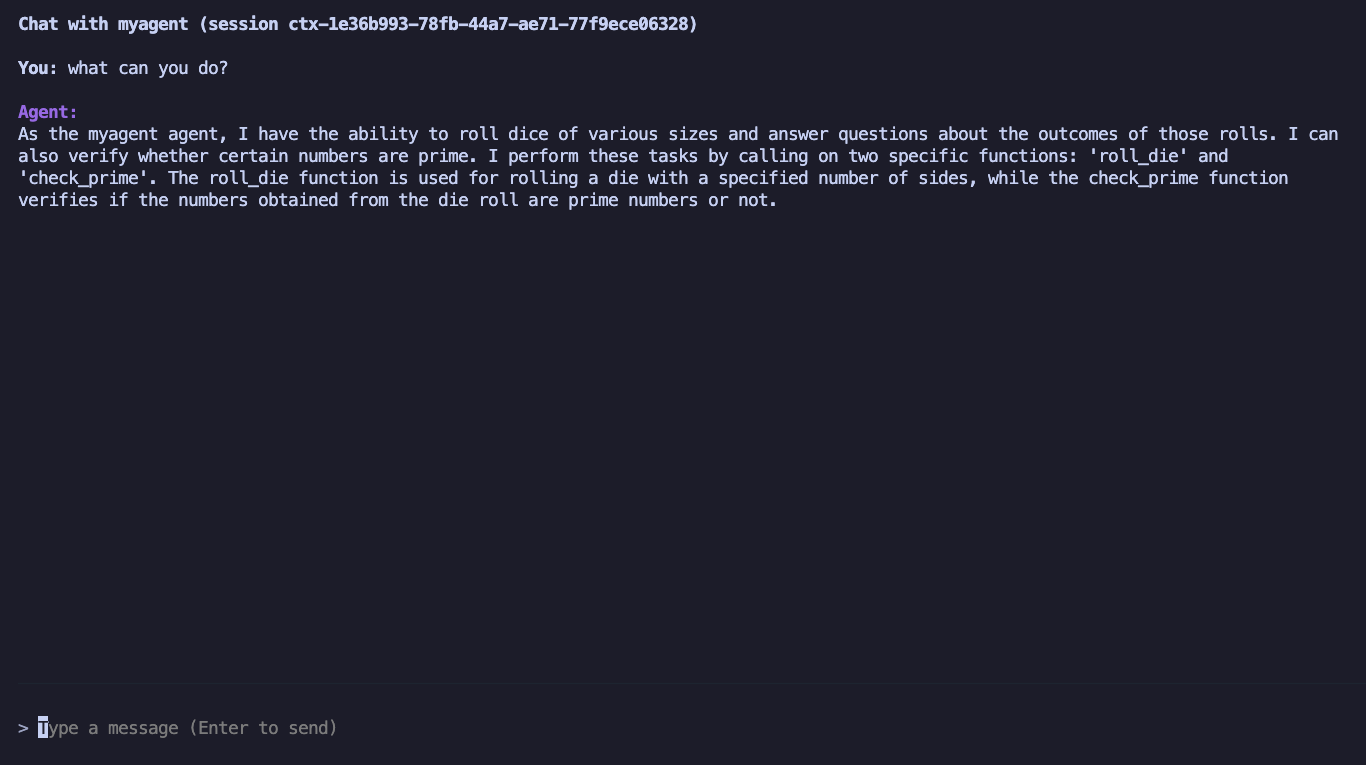
The main agent code will be be in the agent.py file. The sample agent has access to two tools, roll_die and check_prime. The first tool rolls a die and returns the rolled result. The second tool checks if a given list of numbers is prime and returns the string indicating which numbers are prime.
Before you run the agent, you must set the OpenAI API key as an environment variable. You can do this by running the following command:
export OPENAI_API_KEY=<your-api-key>
Then, let's change into the project directory. If you skip this step, just remember to add the project directory in each kagent command later, like kagent build myagent.
cd myagent
Let's build the agent:
kagent build
Note the agent is automatically tagged with the
localhost:5001registry, so make sure your Kubernetes cluster later on is configured to use this registry or push the image to a remote registry.
Now you can run the agent locally and test it out by running the following command with the myagent project directory:
kagent run
This will launch the terminal UI where you can interact with the agent.
You can press CTRL+C to exit the terminal UI and stop the agent. If you make changes to the agent code, you can run kagent build and then kagent run again to see the changes.
Add an MCP server to the agent#
Now let's add an MCP server to the agent. We'll use the add tool from the @modelcontextprotocol/server-everything MCP server. You can add an stdio or remote MCP server to the agent project using the add-mcp command. The add-mcp command has a terminal UI, but you can also pass specific arguments to the command:
kagent add-mcp server-everything --command npx --arg @modelcontextprotocol/server-everything
This command adds an entry to the kagent.yaml file and creates a new directory in the myagent project directory called server-everything. The directory has an agentgateway configuration file for serving the MCP tool locally and a Dockerfile for building the MCP server image.
The configuration file and Dockerfile are only used for local development. When deploying the agent and MCP servers to a Kubernetes cluster, the MCP server will be deployed as a separate Kubernetes resource.
Whenever you add a new MCP server to the agent, the docker-compose.yaml file is updated to include the new MCP server. For example, after adding the above MCP server, the entry for it in the docker-compose.yaml file will look like this:
cat docker-compose.yaml
Example output:
server-everything:image: localhost:5001/myagent-server-everything:latestbuild:context: ./server-everythingdockerfile: Dockerfileexpose:- "3000"
By default, all tools from the MCP server will be automatically available and added to the agent. You can also filter the tools by name or by using a predicate.
The mcp_tools.py file is automatically generated when you add an MCP server that has the get_mcp_tools function.
The generated agent.py file already includes the import statement:
from .mcp_tools import get_mcp_tools
Open the agent.py file and find the line where mcp_tools is defined (usually near the bottom of the file) to filter specific tools.
For example, to only add the add tool from the server-everything MCP server:
-
Replace this line:
mcp_tools = get_mcp_tools() -
with this line:
mcp_tools = get_mcp_tools(server_filters={"server-everything": ["add"]})
This filter only includes the add tool from the server-everything MCP server.
After updating your code, rebuild and run the project with
kagent build && kagent run
Then repeat your question to check that the agent has access to the add tool.
You: what can you do?Agent:As myagent_agent, I have several capabilities. Here are some of the things I can do:1. Roll dice of different sizes: You specify the number of sides, and I can roll a die with that many sides.2. Check if numbers are prime: After rolling a die or dice, I can check if the outcomes of the rolls are prime numbers.3. Add numbers: I can perform addition operations as well.In order to achieve these, I employ tools to perform specific functions like roll_die, check_prime, or add. I'm here to help, so feelfree to ask me to perform any of these tasks!
The agent has access to the add tool as it specified in the response to the user query. You can also try asking the agent to add two numbers, for example add 2 + 2 and see if it works.
Deploying the project to a Kubernetes cluster#
Now let's deploy the project to a Kubernetes cluster. We'll use the kagent deploy command to deploy the agent and MCP servers to a Kubernetes cluster. Make sure you have a Kubernetes cluster and kagent installed in it.
We'll preprate a .env.production file and include the OpenAI API key in it:
cat << EOF > .env.productionOPENAI_API_KEY=<your-api-key>EOF
When deploying, we'll reference the .env.production file using the --env-file flag and the CLI will create a Secret with the API key (and any other environment variables defined in the file) and then include them in the Agent resource.
Let's try the --dry-run flag to see what will be deployed. As our agent depends on an OpenAI API key, we need to provide it using the --api-key flag:
kagent deploy . --env-file .env.production --dry-run
---apiVersion: v1data:OPENAI_API_KEY: <your-openai-api-key>kind: Secretmetadata:name: myagent-envnamespace: default---apiVersion: kagent.dev/v1alpha2kind: Agentmetadata:name: myagentnamespace: defaultspec:byo:deployment:env:- name: OPENAI_API_KEYvalueFrom:secretKeyRef:key: OPENAI_API_KEYname: myagent-envimage: localhost:5001/myagent:latesttype: BYOstatus:observedGeneration: 0---apiVersion: kagent.dev/v1alpha1kind: MCPServermetadata:name: server-everythingnamespace: defaultspec:deployment:args:- '@modelcontextprotocol/server-everything'cmd: npximage: node:24-alpine3.21port: 3000stdioTransport: {}transportType: stdiostatus: {}
Note that the Agent image is tagged with the localhost:5001 registry, so make sure you have either a local Docker registry running or push the image to a remote registry and then modify the agent image tag. You can also use kagent build myagent --image ghcr.io/myorg/my-agent:v1.0.0 --push to build the image with a specifiy name and also push it to a remote registry.
To deploy both the agent and MCP servers to a Kubernetes cluster, you can use the same deploy command, but omit the --dry-run flag:
kagent deploy . --env-file .env.production
The command will rebuild the images and then create and deploy the Agent and MCPServer resources to the Kubernetes cluster.
kubectl get agent,mcpserver
NAME TYPE READY ACCEPTEDagent.kagent.dev/myagent BYO True TrueNAME READY AGEmcpserver.kagent.dev/server-everything True 112s
You can now test the deployed agent and the MCP server through kagent UI.
Troubleshooting#
If you run into any issues, you can start by checking the logs from the agent and/or MCP server containers. You can check the running containers using docker ps command and then use the docker logs [container_id] command to view the logs from individual container.